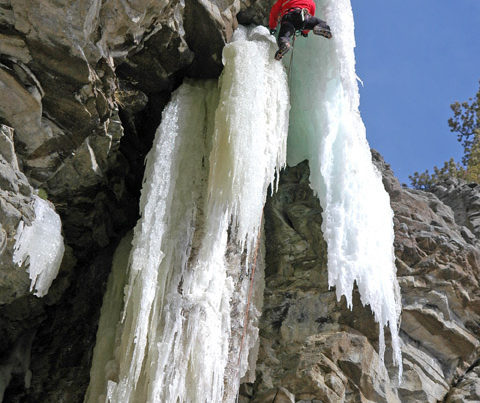
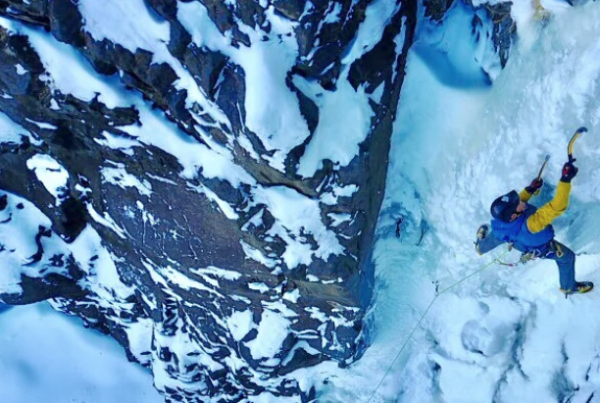
Being able to train for ice or mixed climbing in the off season and during the season is key to maintain comfort on your tools and to gain strength. The Dry Tooling revolution has played a huge part in the increased performance in athletes and the more intense mixed lines being established today.
After seeing pictures and watching Gordon Mcarthur train on his master creation, he calls “The Great Arch”. I knew it was time to create and build something that was cheap, easy and wife approved. Yes Wife Approved is the big hurdle since whatever you build, more than likely your wife,roommate or neighbors are going to have to see it everyday.
I wanted a wall that was easy to build and somewhat small. I also wanted to be able to change the angle very easily.
Here is list of what I needed
1-Mini traxion to easily adjust angle
3- 2x6x16 treated lumber
15- Cedar pickets that are used for fencing. I only used Cedar since it matched our deck and looks nice. I do not recommend it for durability. I will be changing mine out to a harder and thicker wood. You could double the pickets and this would be much stronger if you like that look.
2- Eye bolts
2- large washers for the eye bolts
2 -small washers for the eye bolts
3-4 Metal stakes
1- Cedar post 4x4x8
3/8 16inch long drill bit
1/2 inch drill bit
lots of size 9 2inch screws
30 or so 4inch long screws
Here is the basic construction of the wall. Notice the header, this is where you use the longer screws. Also use the longer screws for the middle supports of the wall to keep it from bowing. This middle support is somewhat of an overkill, but you have the extra wood and it does add to the stability of the wall long term.
I cut the pickets at 34 inches long this way you get two out of each picket. You can place them however far apart or close you want. Depending on how far apart you place them could change how many cedar pickets you need, but remember I do not advise the cedar pickets unless you double them up. Pictures shown above is what I placed in the top of the header board. This where you will anchor everything off of.
Eye bolts seen above are now ready. Notice how the eye bolts are placed not in middle, but closer to the sides of the wall.
I used a sawzall to cut these out of the bottom of the wall. This is where the metal stakes will be placed through for stability.
These keep the wall very stable.
These hanging tuna logs are an addition you can decide if you want or not. They were simple and easy. Out of the 4x4x8 cedar post I cut five 14 inch length tuna logs and you end up with shorter one if you want to have 6. I then took the long 16 inch drill bit and made a hole down the center of the log. I then drilled at angle about 1 1/2 inches deep on each side of the tuna log. I drilled one hole high on one side and low on the other. So you have four sides to the tuna log with varying heights. Once I completed my drilling I then fed the rope down the center and tied a knot on the other end. The top is a quick overhand knot with a carabiner. These are simple to move however you want on the wall.
My wall is anchored to a tree. A rope on each side for directional force and center rope that is primarily used to lift the wall, but does help with stability. My anchor system is a bit of an overkill for most perhaps, but with 60mph Wyoming winds it needs every bit of support it can get.
Combine a wall and training sessions from the Alpine Training Center and you will crush it this season. Connie at the ATC writes all of my training from a far and each season I feel stronger and stronger.
If you have questions feel free to contact me.
Aaron Mulkey


I would like to get in touch with you. Planning to build this wall stucture this week end and I have some specific questions 🙂
Thanks!
Julie suer sorry I am just getting back to you on this. Feel free to send me a message.
Hey Aaron
I’m wanting to have a shot at building the wall and just wanted to ask a few questions about it 🙂
Cam just shoot me a message through here or on the coldfear book page.
Thanks Aaron
Just wanted to know about the method of attaching the wall to the tree, what sort of rope I should use and what kind of knots will work best? Also roughly how far is your wall from your tree? I’ve got at least a 4-5 metre gap between the tree I’m thinking of using and the grass so just want to know if that will have enough stability
Thanks again
based on your design, I built something similar. Took 2 long pallets and screwed 10′ 2×4 on either side of the stacked pallets. a couple slings around the frame to anchor to and attached to a tree. The normal pallet top pieces were too close together to allow feet and tools to get in so I had to sawzall then thinner. Add some woodscrews to supplement the nails. Works OK but pulling on the small wood pieces is scary. will have ot go back and add more wood to each section to pull on.
Not as pretty as yours but since it is here in western WA, it will rot out in a couple months anyway.
Hey buddy, it looks great for the powerendurance, have you buikd a walwith the holds for technigue and agility and if so -do you use specific holdz holds or any climbing? Or just a wood cuts with the holds and the metal frame angles ? Cheerd, have a nice coming winter and performance !
Hey Alex I have done some technique type route setting with holds, but still feel the best use of a wall is for strength and endurance rather than edging on a tiny piece of plastic, but that is just me!
You said you used Cedar wood. you said you don’t recommend it for durability and you would change it in the future. What kind of wood would you choose for the best results?